Start with the contents, not the artwork
An envelope may look like a small canvas, but its first job is to hold and protect what goes inside. Before designing it, gather the finished contents: a folded letter, invitation, booklet, reply card, or any combination of pieces. Measure the assembled stack rather than a single sheet. Folds, thick stock, and several inserts can make a package harder to load than its flat dimensions suggest.
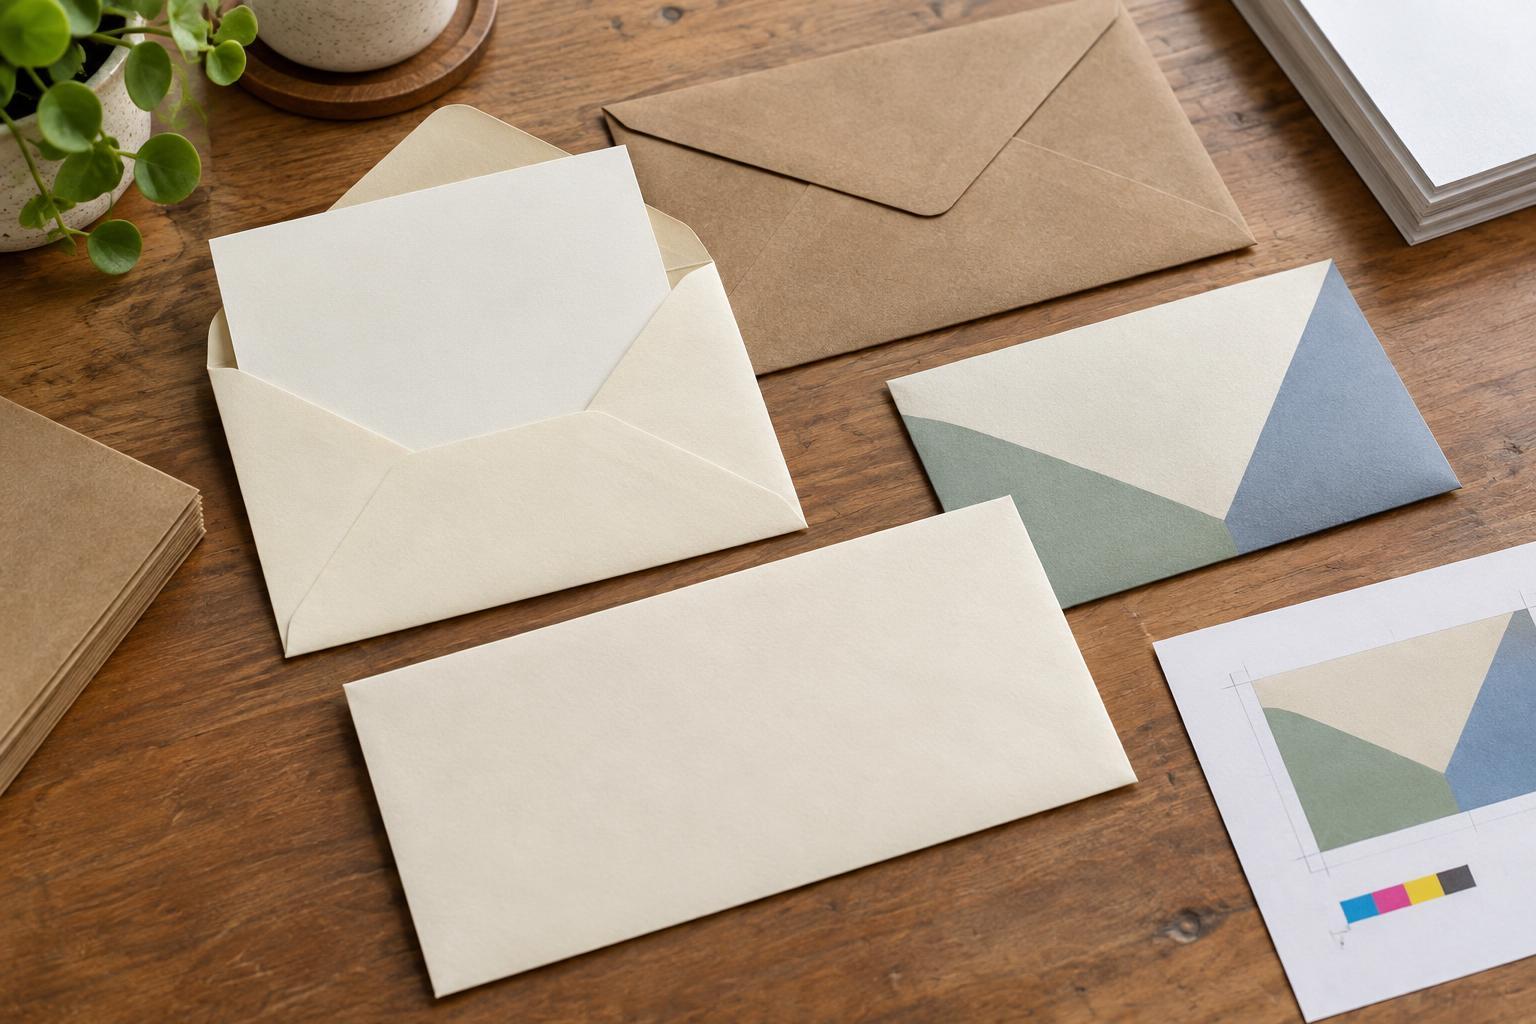
Choose an envelope with enough room for comfortable insertion without allowing the contents to slide excessively. If you can, request a physical sample and test it with the actual materials. Pay attention to the opening: a long-side opening may be convenient for one piece, while a short-side opening may suit another. Decide whether anyone will be inserting the contents by hand, because an awkward fit can slow down a task repeated many times.
Design around the envelope’s physical features
An envelope is not a flat sheet once it has been assembled. Its seams, flap, adhesive area, and folded edges affect where artwork can sit and how reliably it can print. Obtain the supplier’s template for the exact envelope before placing a logo or color block near an edge. Templates can differ even when envelopes are described by the same general size.
Identify the front, back, and flap on the template, then label them in your working file. Check the direction in which the flap opens so a message or graphic on the back is not upside down when someone turns the envelope over. Keep fine type and essential details away from folds and seams. A design that crosses these areas may need to be printed on a flat sheet before the envelope is converted, rather than on an envelope that is already assembled.
If you want color to reach an edge, ask the printer whether that effect is possible with the envelope and production method you have chosen. Do not assume that the usual bleed setup for a trimmed flyer applies to a pre-made envelope. A restrained design that respects the available print area is often easier to produce consistently.
Reserve a clear place for addressing
Decide early how each envelope will be addressed: by hand, label, office printer, or a print provider using recipient data. Leave a clear, adequately sized area for that method. Before committing to a dark background or a dense pattern, test the address as it will actually appear. Legibility matters more than how the blank envelope looks in a mockup.
If the piece will be mailed, confirm the applicable addressing and placement requirements with the relevant delivery service before approving artwork. Requirements can vary by destination, service, and format. Also consider where a return address, stamp, or postage mark will go. For hand-delivered pieces, those elements may be unnecessary, but the recipient’s name still needs enough space to be written or printed neatly.
Personalized printing introduces a separate check. Ask for a sample showing a short name, a long name, and any other field that may vary. Confirm that the chosen type size and address area accommodate realistic entries without shrinking text to an unreadable size. Review the recipient file for empty fields and unintended duplicates before handing it over.
Match the artwork to the production method
Ask the supplier whether artwork will be applied to pre-made envelopes or printed before conversion. That answer affects coverage, edge placement, and potentially which parts of the envelope can carry a design. It also helps determine how to prepare the file. Send the printer the exact envelope specification and a marked-up mockup showing which side is which; a front-view image alone may leave the flap orientation open to interpretation.
Envelope stock also deserves a test. A highly textured surface may change how small details appear, while a thin or translucent stock may let the contents show through. If privacy or a clean-looking front matters, place a representative insert inside a sample and view it under ordinary lighting. Ask about a suitable stock or lining if the contents are too visible.
Approve a complete sample, not just a screen view
Before approving the run, check a sample with the real insert and an example address. Make sure the envelope closes properly, opens as expected, and leaves the artwork correctly oriented. Look at fine type, solid areas, and any printing near folds. If the campaign includes several pieces, compare them together so the envelope feels connected to the contents without repeating every detail.
Your handoff can be brief but specific: state the envelope size and stock, printing sides, quantities, addressing method, and whether inserts will be packed by the supplier or your team. Include the approved artwork and identify the version to use. These decisions turn an attractive envelope design into a piece that can be printed, filled, and delivered as intended.