Decide what the photo needs to communicate
Packaging often carries information that a viewer needs before buying: the product name, variety, size, or instructions. Before setting up the camera, decide which details must be readable in each image. A front-facing product photo may need to establish the name and variant, while a separate close-up can handle small print. Trying to make every word legible in one image can leave the package looking flat or too small.
Write a short priority list for each product. For a hypothetical jar of tea, it might be: show the brand and tea name in the main image, show the jar’s shape in a second view, and capture the preparation instructions in a detail image. Check the actual packaging before committing to that list. A label may wrap around a curved surface, or an important detail may be printed on the back.
Choose an angle that respects the label
Start with the camera roughly level with the center of the information you want to show. If the package has a flat front, keep that face nearly parallel to the camera sensor. Tilting the camera downward can make the top look prominent, but it may also compress lettering near the bottom. Turning the product too far to one side can give it dimension while hiding part of its name.
Take a straightforward view first, then make small changes to the product’s rotation. With a cylindrical container, a slight turn may reveal depth without pushing key words around the curve. If a box has information on two faces, photograph those faces separately rather than forcing both into one awkward angle. Leave enough room around the product that the image can be cropped for its intended placement without cutting off the package.
Control reflections without flattening the product
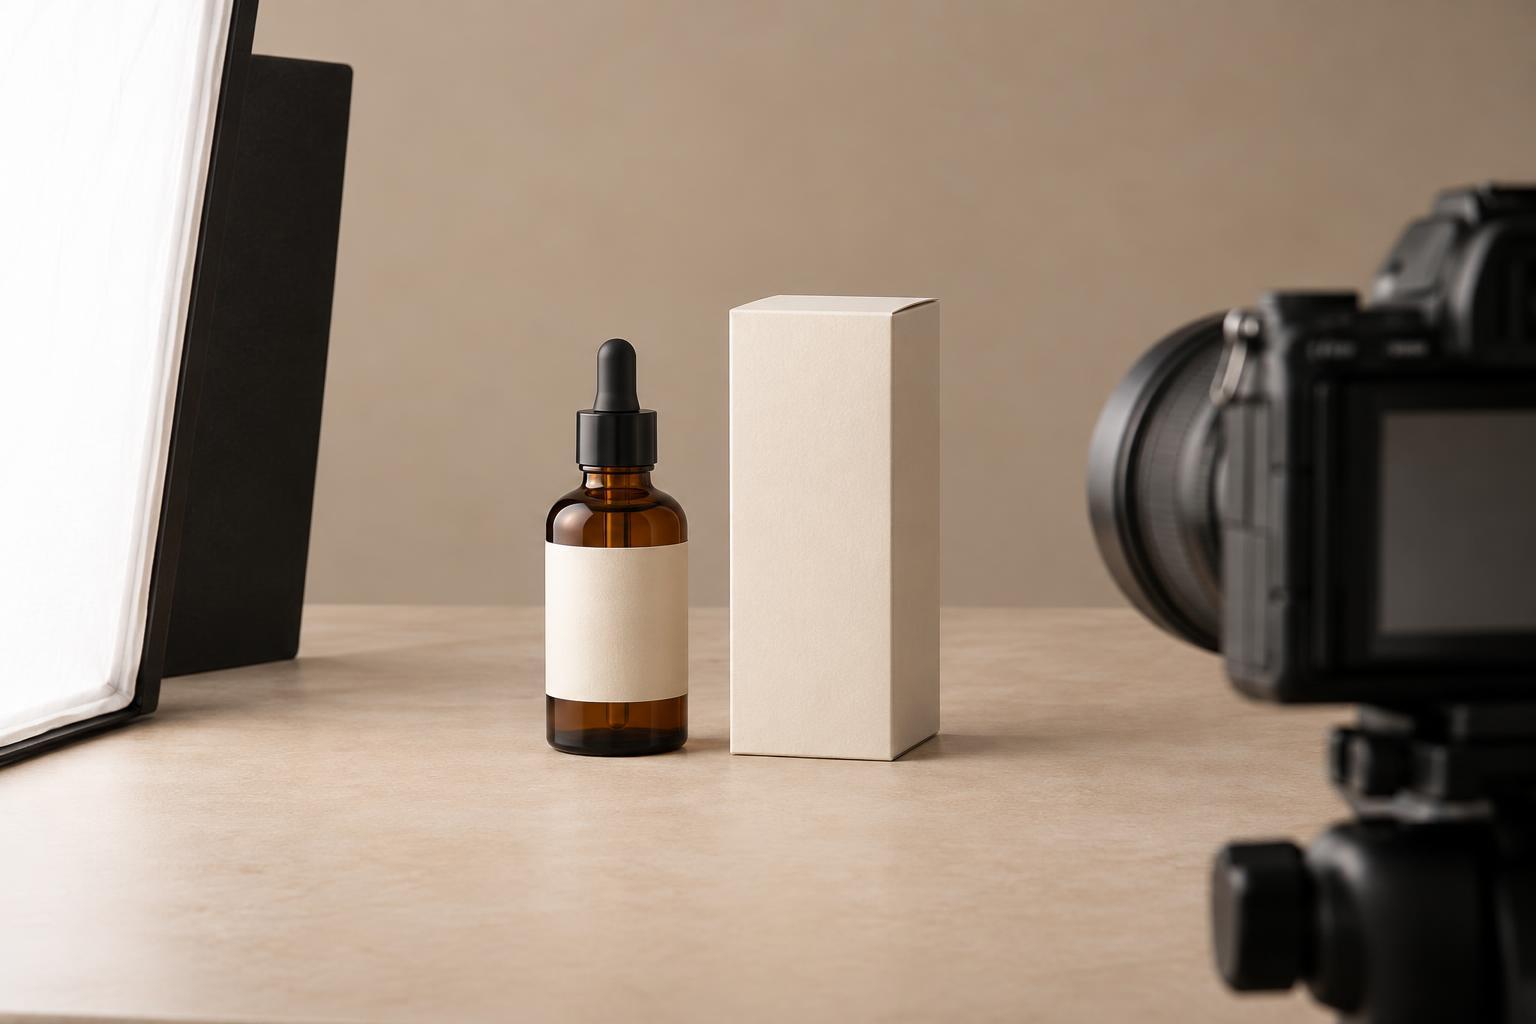
Glossy labels, plastic wrap, and metallic finishes can reflect a light source directly into the lens. If a bright streak crosses the product name, move the light, camera, or package a little and check the result. A larger, diffused light source can produce a broader, softer reflection than a small bare lamp. Dark cards placed outside the frame can also create defined edges on shiny packaging, provided they do not obscure the label.
Do not aim to remove every highlight. Reflections can help show whether a surface is glass, coated paper, or foil. The useful test is whether they describe the material without covering important text or changing the apparent color. Review the image at the size at which it is likely to appear. A label that looks clear when zoomed in may become unreadable in a small product grid.
Make small type a separate shot when needed
Fine print has physical limits: if it occupies only a few pixels in the final image, better lighting will not make it reliably readable. Move closer for a detail photograph, keep the label plane as square to the camera as possible, and focus on the text that matters. For a curved package, you may need more than one detail view to show information printed across the wrap.
Keep the package clean and smooth before shooting. Dust, fingerprints, bent corners, and loose stickers are easier to fix on the object than in an edit. If several variants share similar packaging, check each one rather than assuming that the label position and color are identical. Use filenames that identify the product, variant, and view so a close-up of one version is not accidentally paired with another.
Review the set for clarity and accuracy
Before packing up, compare the photographs with the physical product. Are the name and variant visible in the main image? Do the detail views show the information they were intended to show? Does glare conceal a line of text, or does a camera angle make the package appear to have a different shape? This check is especially helpful when a shoot includes many similar items.
Edit for a clean, consistent presentation, but avoid replacing, inventing, or selectively altering label information. If packaging is damaged, reshoot an intact example when possible rather than rebuilding missing words in an image. A useful final set gives the viewer both an inviting picture of the object and an honest way to inspect its important details.