Start with the action, not the setting
Lifestyle photography shows a product as part of an activity. Before choosing a kitchen, desk, park, or café, write one sentence describing what someone is doing with the product and why that moment matters. For example: “A commuter packs a leak-resistant lunch container before leaving home.” That sentence gives the image a purpose. A stylish kitchen alone does not.
Choose one primary idea per photograph. If the product is a notebook, the scene might show someone outlining a project, rather than trying to show planning, travel, teamwork, and relaxation at once. Ask what a viewer should understand without reading a caption: who uses the product, how it fits into the task, and which feature is visible. A simple action is usually easier to recognize at a glance than an elaborate story.
Build a brief around the audience and the claim
Write a short brief that names the intended viewer, the product, the action, and the message. Include where the images will appear: a website banner, product page, social post, printed card, or several of these. Placement affects framing. A wide banner may need open space for a headline, while a small square image needs an action that remains legible when cropped.
Be precise about what the photograph can honestly demonstrate. A hand closing a lunch container can show how its lid works; it cannot prove that the container never leaks. If a benefit is difficult to show directly, photograph a related, believable moment and let carefully written copy explain the benefit. Keep packaging, labels, and product details consistent with what customers will receive.
A useful brief also lists what must not happen. The product should not be hidden by a hand, used in an unlikely way, or surrounded by props that suggest the wrong audience. These notes give everyone on set a clearer test than “make it feel aspirational.”
Choose a believable scene and a short shot list
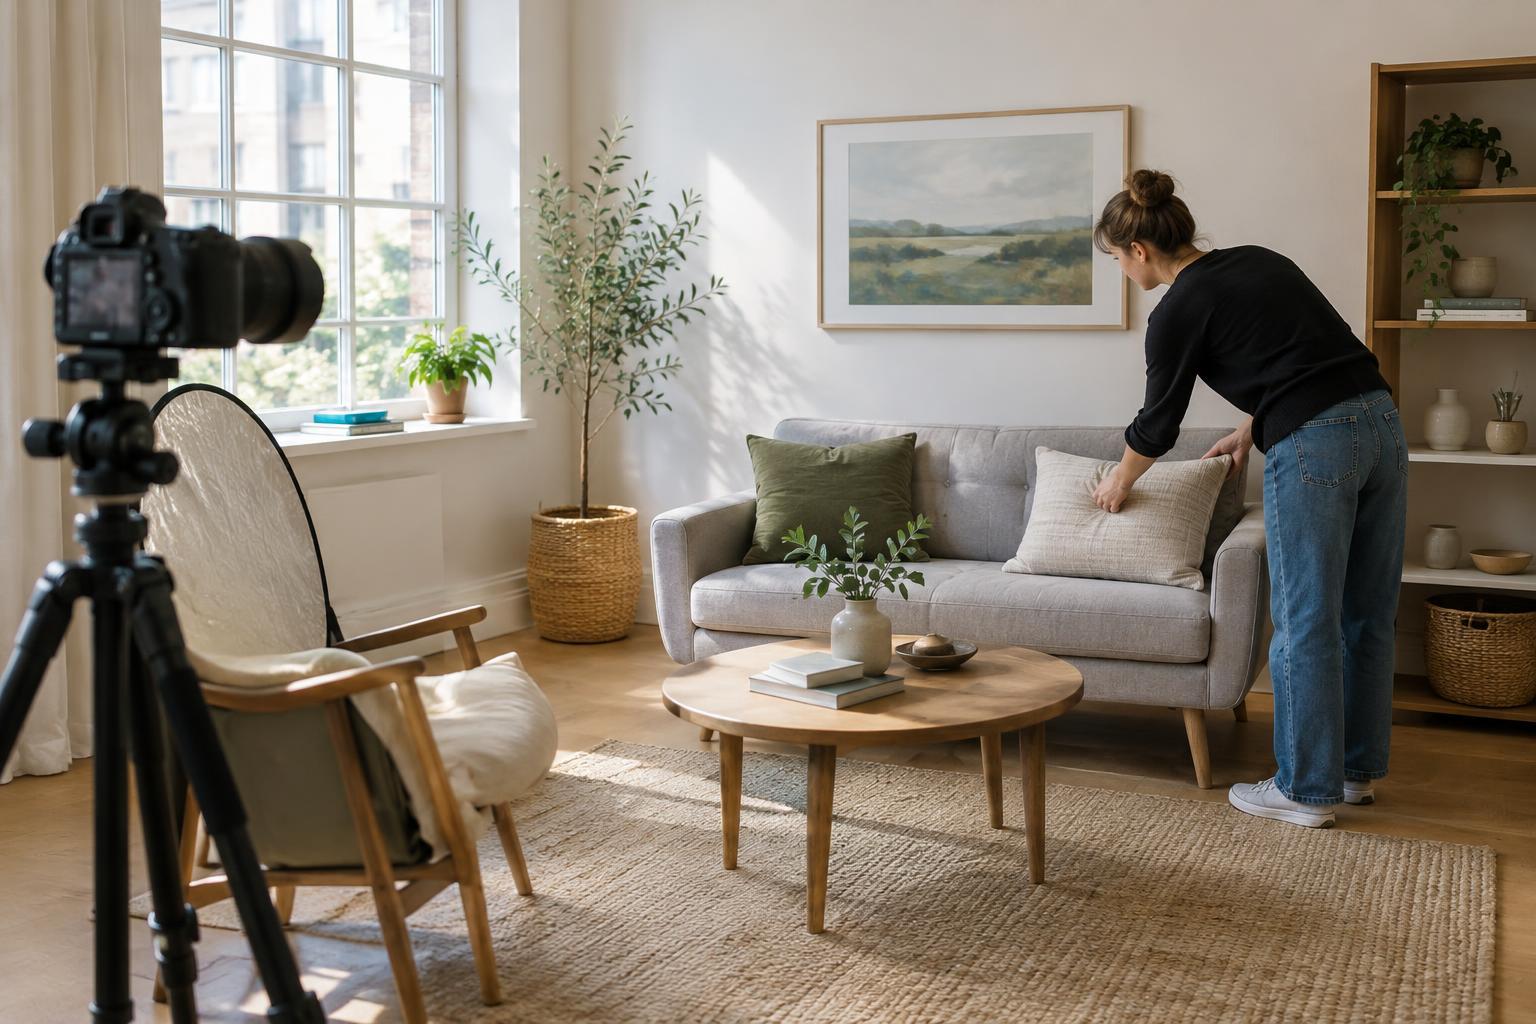
Select a location that supports the action without competing with the product. A desk can signal work, but it does not need a wall of notes, several devices, and a full shelf in every frame. Props should help explain the task or establish scale. Remove anything that distracts from the action, including prominent competing labels and objects that create confusing shapes around the product.
Plan a small sequence rather than relying on one perfect image. For the lunch container, that might mean an establishing view of packing lunch, a closer view of the lid being secured, and a finished view of the container in a bag. Add one frame with generous negative space for copy and one tighter frame for small placements. Note whether each composition must work vertically, horizontally, or both.
Include a clear product view alongside the lifestyle frames. People should be able to identify what is being offered even if they first encounter the campaign in a small image. A candid-looking scene can still be carefully composed: place the product where light reaches it, check that key details face the camera, and make sure the user’s gesture reads naturally.
Prepare the action before the camera comes out
Walk through the task with the actual product. Check how it opens, moves, reflects light, or sits in someone’s hand. This rehearsal often reveals small problems: a label turns away when the product is held comfortably, a lid blocks the camera’s view, or a surface creates glare. Adjust the camera angle or timing before asking someone to repeat the action many times.
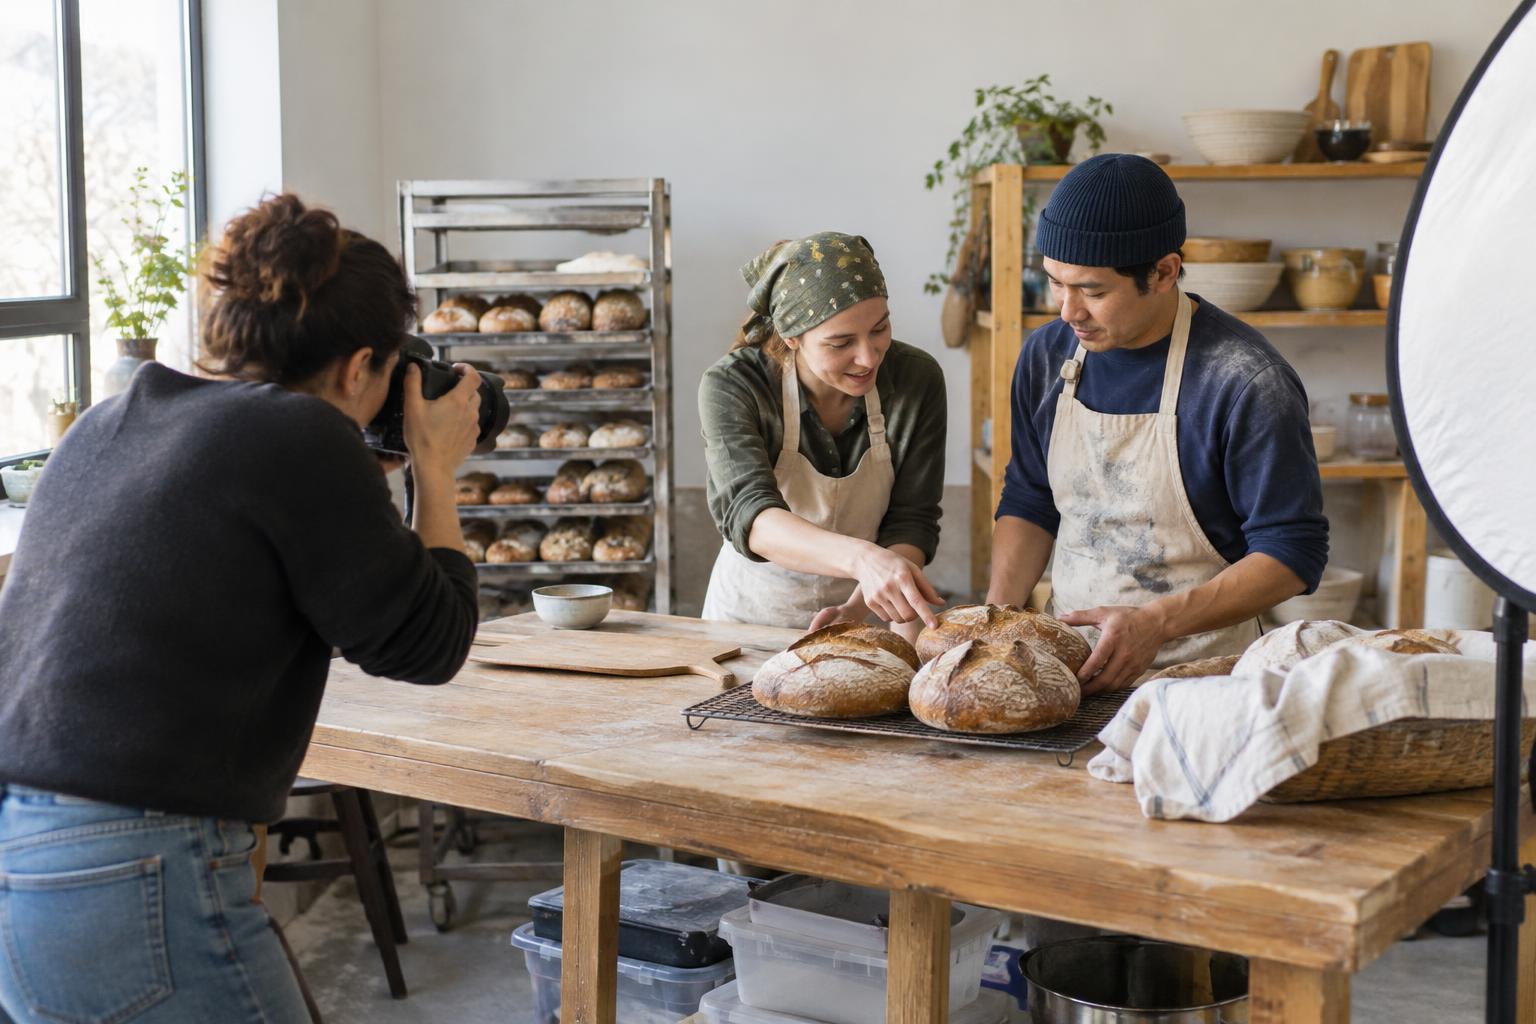
Choose people, clothing, and surroundings that suit the intended situation, then give the person something specific to do. “Place the container in the bag and check that it fits” is more helpful than “look natural.” Photograph the movement in stages so you can select a moment when the action and product are both clear. If you photograph identifiable people or work in a location you do not control, arrange the permissions needed for your intended use before the shoot.
Keep the lighting practical for the space. Soft window light or a simple diffused light source can make hands, packaging, and textures easy to read. Watch for glare on glossy surfaces and deep shadows over important details. Consistency across the shot list matters if the images will appear together.
Select images for clarity and flexibility
Review the photographs at the size at which viewers are likely to see them. An image that looks convincing on a large screen may lose its product detail in a thumbnail. Check whether the action is understandable, the product is recognizable, and the expression or gesture fits the message. Do not choose a frame solely because the room looks appealing.
Make a few practical crops before calling the shoot complete. Test a horizontal headline layout, a vertical post, and a tight product-focused version if those formats are in the brief. Check that text can sit in open space without covering a face, hand, or essential feature. Select and edit images as a set so their color, contrast, and level of polish feel related, while preserving an honest view of the product.