Decide what the photographs need to communicate
Start with the intended use, not the furniture. Images for a website homepage may need open space for a headline, while a menu, brochure or social post may need tighter views of materials and details. Write a short brief naming the audience, where the images will appear and the feeling the space should convey. A welcoming café, for example, might need a wide view that explains the layout, a view from the entrance and a few close-ups of tables or finishes.
Turn the brief into a short shot list. Identify essential views first, then optional details if time allows. Walk through the location and consider what each angle includes: an attractive corner might also show a storage door or a distracting sign. Sharing phone snapshots with the photographer can help you discuss priorities, but leave room for them to find stronger compositions on site.
Clear distractions without erasing the character of the space
Clean the surfaces the camera will see, paying particular attention to glass, mirrors, floors, tabletops and reflective fixtures. Remove temporary notices, loose cables, bins, excess packaging and personal belongings unless they serve the story. Check under tables and along the edges of a room; objects that are easy to ignore in person can become prominent in a photograph.
Aim for a space that looks in use, not stripped bare. Keep distinctive books, tools, plants or products when they explain the business. Group small items deliberately rather than scattering them across a surface. If a desk is part of the scene, a notebook and one useful object may read more clearly than a collection of stationery. Make a simple list of anything you move so it can be returned after the shoot.
Plan around light and the limits of the room
Visit the location at roughly the time the shoot is planned, if possible. Notice when direct sun reaches key areas and whether nearby buildings block the windows. Soft daylight can be helpful, but a window that looks pleasant to the eye may appear much brighter than the room around it in a photograph. Blinds or curtains should be clean and working so the photographer has options.
Test every practical light before shoot day. Replace failed bulbs where appropriate and note fixtures with noticeably different color tones. The photographer can decide whether to use daylight, room lights or their own lighting; your job is to make those choices available. Also look for reflections of exit signs, clutter or people in mirrors and glossy surfaces. Some distractions can be moved, while others may call for a different angle.
Arrange access, people and styling materials
Reserve enough uninterrupted time to prepare, photograph and reset the space. If the location is open to customers, choose a quieter period when practical and tell staff which areas need to remain clear. Confirm who can unlock rooms, adjust blinds, move furniture and approve any changes to the setup. Where people might appear in photographs, agree in advance whether they should be included; keep private information, customer records and screens out of view.
Gather useful styling items in one place before the photographer arrives. These might include fresh linens, clean glassware, product packaging or a few objects that reflect how the room is normally used. Bring only items that fit the brief. If furniture is heavy, fragile or connected to equipment, decide beforehand what can safely move and who will move it. Clear walkways for both the crew and anyone else using the building.
Do a final frame-by-frame check
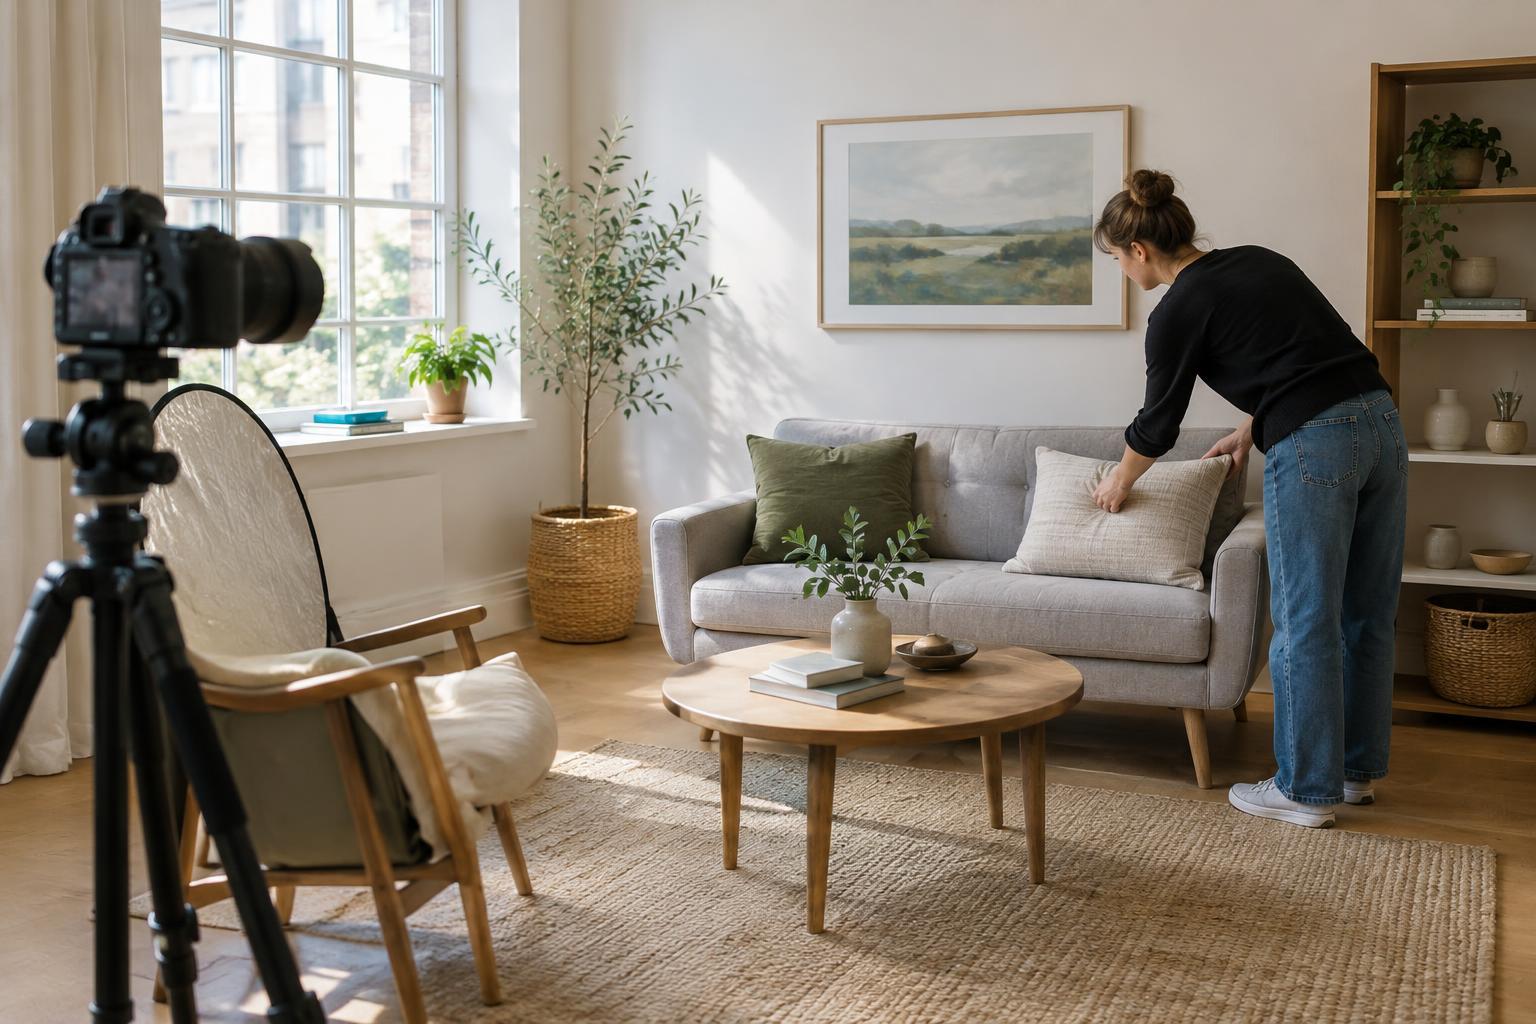
Just before each photograph, stand near the camera position and scan the whole scene, not only its focal point. Straighten chairs, align lampshades, smooth fabric and check that doors are positioned intentionally. Look at the edges for a half-visible bag or cable. Small adjustments are quicker to make on location than to explain later.
Once a view is ready, give the photographer time to work without continually changing the setup. Keep the shot list nearby so essential images are not lost while exploring details. Before wrapping, check whether the planned uses have been covered: wide images, closer views and any compositions that leave room for copy. Then use your list of moved items to restore the location. Good preparation does not make every room perfect; it makes the space easier to photograph honestly and purposefully.