Start with what the booklet needs to do
A booklet is more than a stack of designed pages. Someone may hold it open while following instructions, browse it at a counter, or keep it on a shelf. Each situation puts different demands on the binding. Before choosing a format, ask where the booklet will be used, how often readers will turn its pages, whether it needs to stay open, and what impression its cover should make.
Think about the content, too. A short event program has different needs from a product catalog or a workshop manual. The number of pages, paper choice, image placement, and available budget all affect the decision. It is easier to choose a binding while the content is still flexible than to discover late in production that the planned layout does not suit the format.
Saddle stitching: a simple choice for shorter booklets
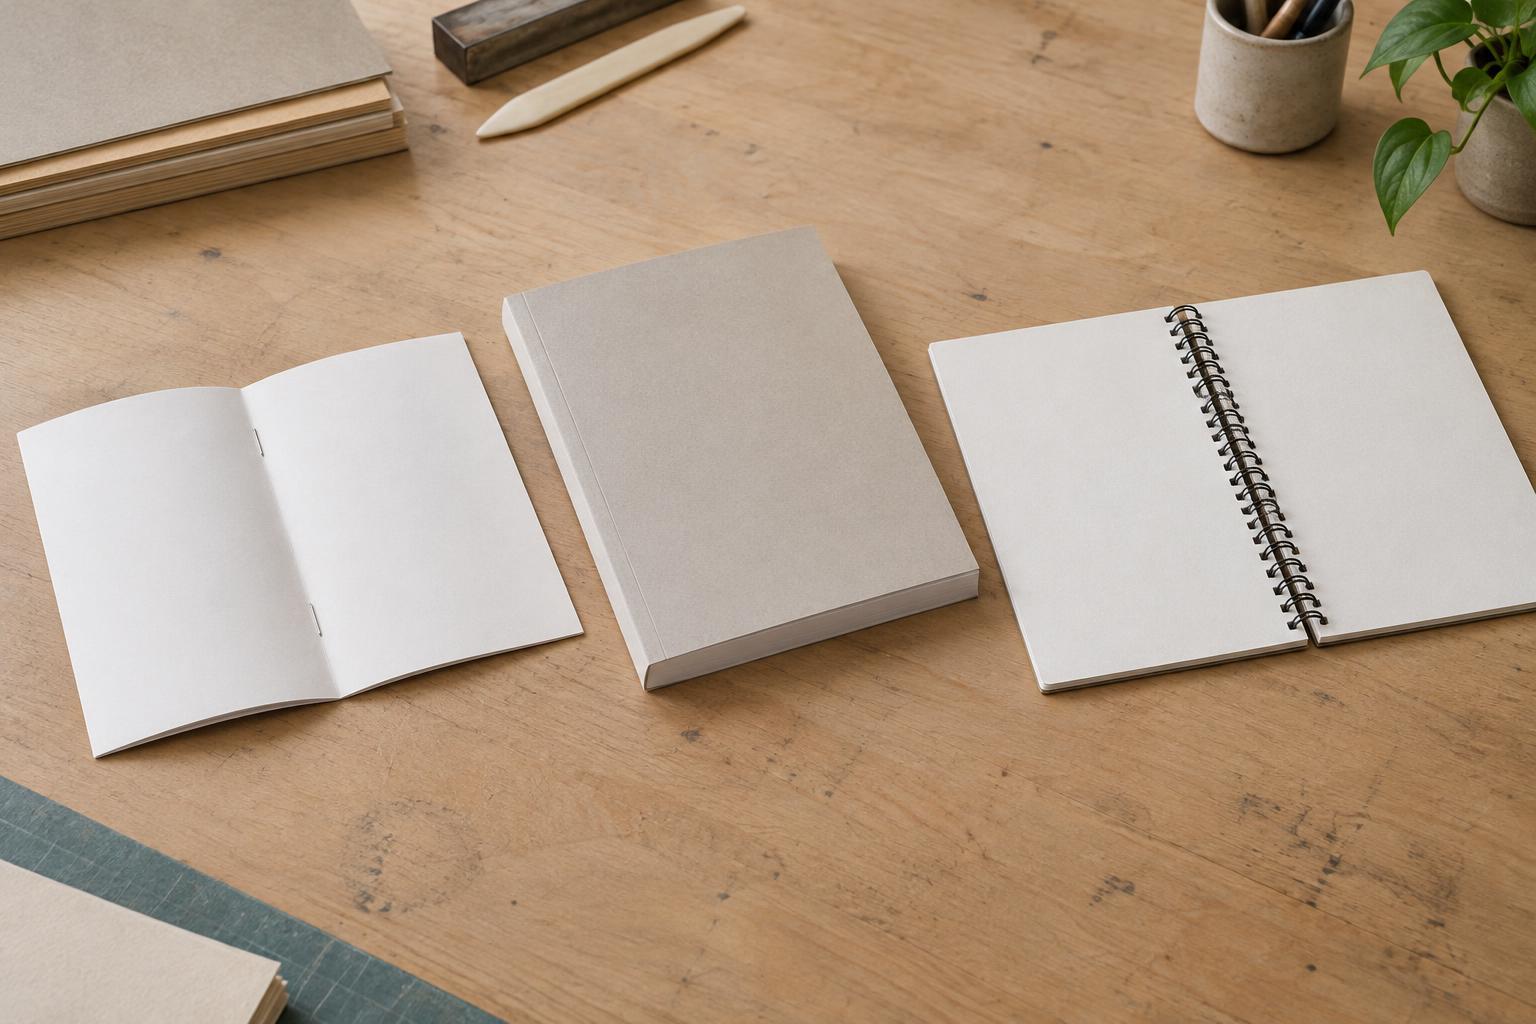
Saddle-stitched booklets are made from folded sheets held together with staples along the fold. They work well for short programs, menus, lookbooks, and other pieces that readers can move through quickly. They can open relatively wide, and the folded edge gives the booklet a clean, uncomplicated appearance.
Because each folded sheet contributes four pages, a standard saddle-stitched booklet is planned in page counts divisible by four. Confirm with the printer whether its page count includes the cover. As the booklet grows thicker, the inner sheets extend slightly farther at the outside edge. This is called creep; it may need to be accounted for when pages are trimmed. The printer can advise when the chosen paper and page count make saddle stitching impractical.
Use this format when brevity is an advantage, not merely to save space. If the content has grown dense, cutting essential text to force it into a small booklet may make the finished piece less useful.
Perfect binding: a flat spine for a more substantial piece
Perfect binding attaches pages at the spine with adhesive and wraps a cover around them. It creates a flat spine that may be suitable for a title, depending on the finished thickness. That familiar book-like shape can suit a longer catalog, portfolio, or editorial publication intended to be stored and revisited.
The trade-off is how the pages open. A perfect-bound booklet generally will not lie flat without being held down, and content close to the spine can be difficult to see. Keep small text, page numbers, and important image details out of that inner area. If a photograph runs across two pages, check how much of it may disappear into the gutter.
Do not design spine text by guessing its width. The finished spine depends on the page count, paper, and production method. Ask the printer for a cover template or spine measurement once those choices are set, and check whether the proposed booklet is thick enough for this binding.
Spiral binding: built for frequent handling
Spiral binding holds pages with a coil threaded through holes along one edge. Pages can turn easily, and the booklet can usually lie open or fold back on itself. That makes it useful for training materials, recipe collections, workbooks, and guides that someone needs to consult while doing another task.
Its functional look is part of the decision. A visible coil may be welcome in a practical manual but less appropriate for a polished brand story. The holes also take up space, so leave a generous binding margin and avoid placing text or important details there. If pages will be printed on both sides, think through how the booklet will be held when readers turn them.
Spiral binding offers flexibility in page count, but that does not mean every paper or cover will handle the same way. A physical sample is especially helpful if the booklet must survive repeated use.
Check the format before preparing final artwork
Picture three possible briefs: a compact event program, an image-led brand portfolio, and an instructional workbook. Saddle stitching is a sensible starting point for the program, perfect binding may suit the portfolio if it has enough pages, and spiral binding serves the workbook if it must stay open. These are starting points, not rules; the best choice depends on the finished size, paper, and reader’s task.
Before exporting print files, ask the printer for its specifications for the selected format. Confirm the page count, trim size, bleed, safe areas, cover setup, and any requirements around the spine or punched edge. Make a paper mock-up at roughly the finished size, even if it is assembled by hand. Turn the pages as a reader would: check whether headings are easy to find, images remain legible near the binding, and the booklet opens in the way its content requires. A format that works in the hand will do more for the message than one chosen for appearance alone.