Start by choosing your main light
A reflector redirects light that is already present. A flag blocks light from reaching part of a scene. Together, they let you adjust brightness and contrast without buying another lamp. Before placing either one, choose a single main light: perhaps a window, a shaded doorway or a lamp you already own. Turn off other room lights if they create competing shadows or unwanted color casts.
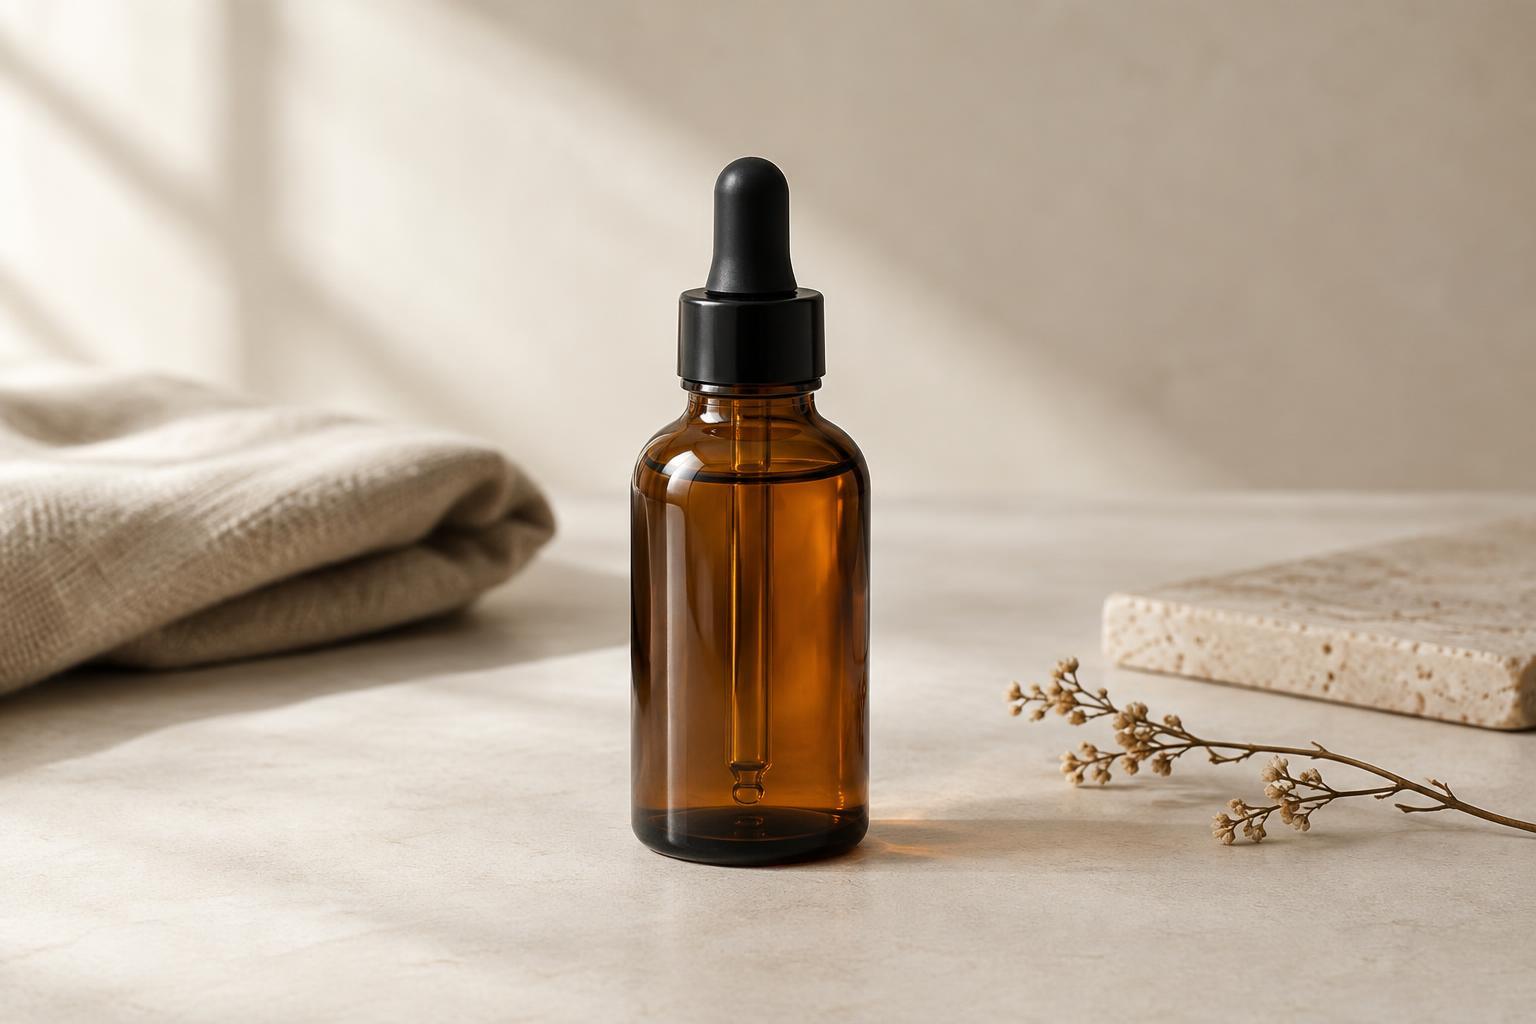
Make one test photograph with no boards in place. Look at where the light falls, which shadows help describe the subject and which areas need attention. If a product label is difficult to read because its shadow side is too dark, try a reflector. If light spills onto the background or flattens the shape of a dark object, try a flag. This simple diagnosis prevents you from adding equipment that does not solve the actual problem.
Build a small, useful kit
White foam board is an inexpensive general-purpose reflector. It bounces back relatively soft, neutral-looking light and works well near food, packaging and faces. A sheet of white card can do the same job for a small tabletop object. Silver material returns a brighter, more concentrated-looking reflection, but it can create conspicuous highlights on glossy products or skin. Gold material can add warmth, though it may also change the apparent color of a product. When accurate product color matters, start with white.
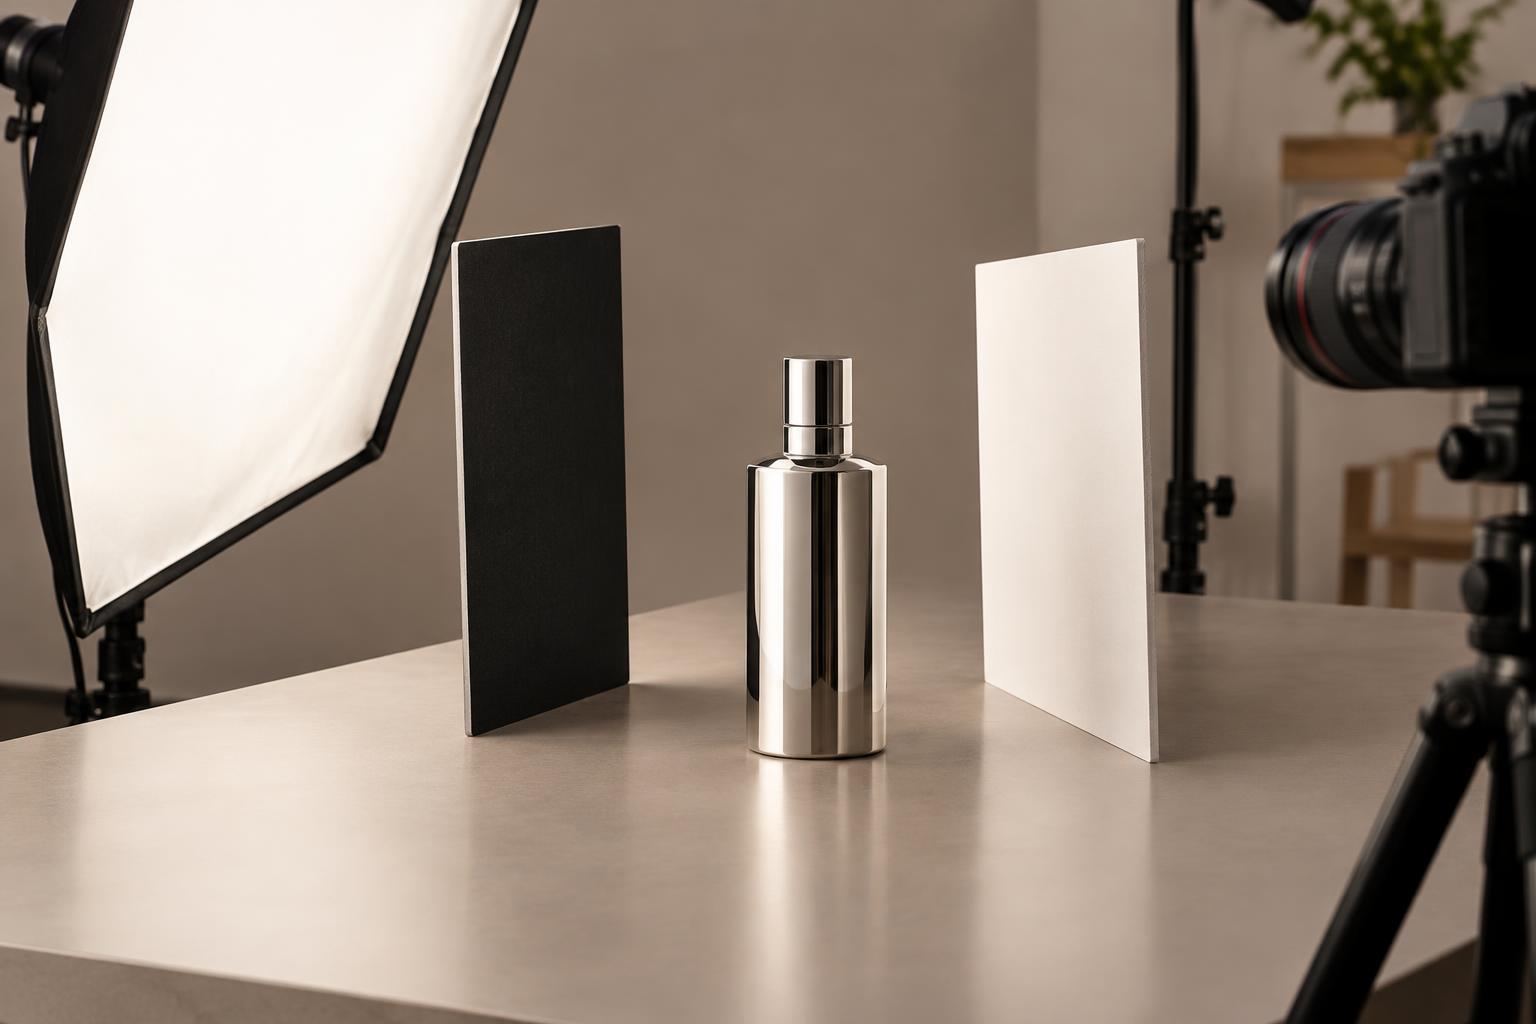
For flags, use matte black foam board or another opaque, non-reflective surface. A dark board beside a subject absorbs or blocks light that would otherwise bounce back from nearby walls. This is sometimes called negative fill: rather than making the bright side brighter, you make the shadow side darker. Keep a few board sizes available if you can. Small pieces are easier to position around products, while larger boards affect more of a portrait. Clamps or a stable stand free your hands, but make sure every board is secure and cannot tip onto a person or product.
Place boards by watching what changes
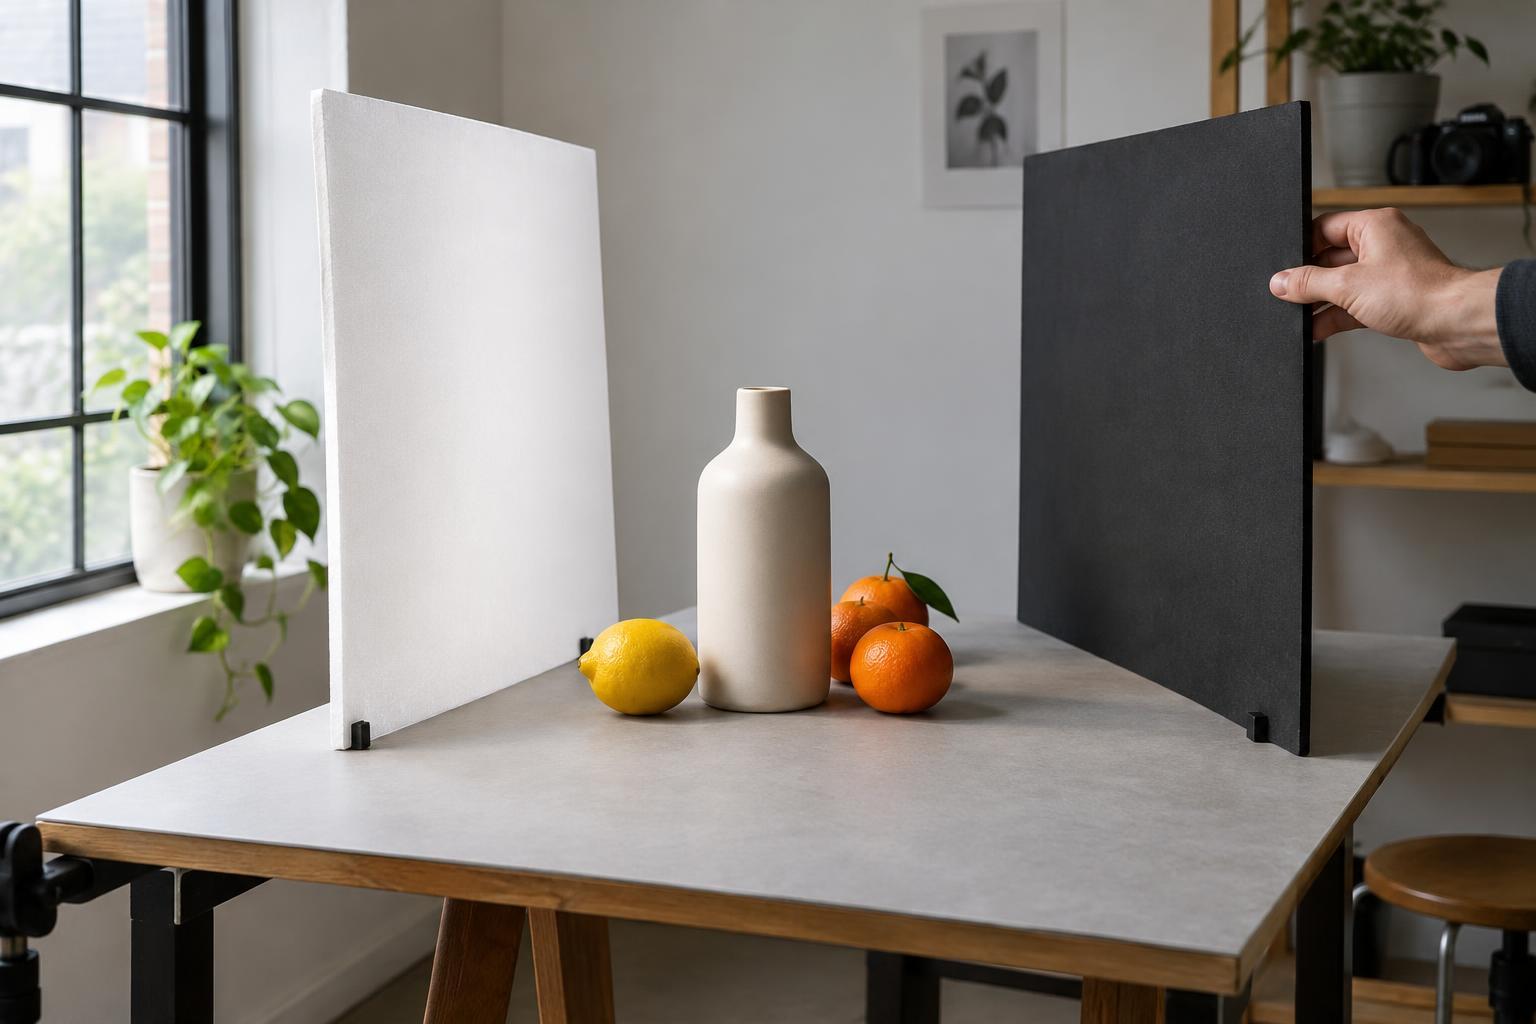
Put a white reflector opposite your main light, just outside the camera frame, to lift shadows. Move it closer for a stronger effect or farther away for a subtler one. Angle it until the reflected light reaches the area you want to reveal; a reflector that faces the wrong direction may do very little. Take another test frame and compare the two images at the same exposure. Adjust one board at a time so you can tell what each move accomplishes.
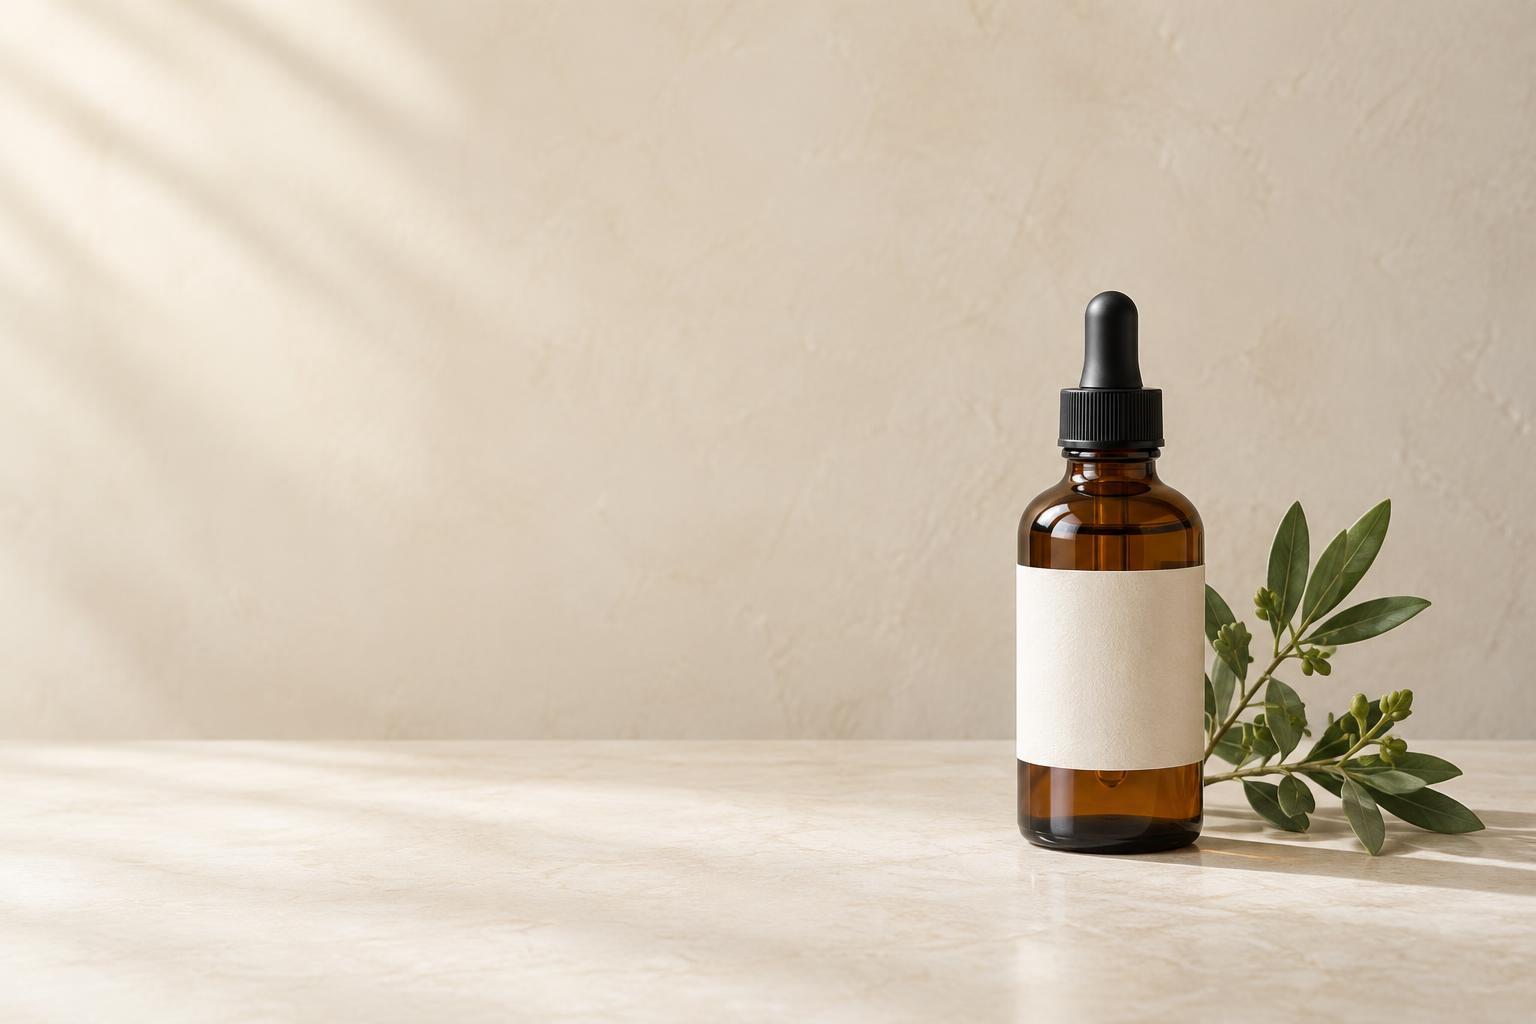
To add definition, place a black flag near the shadow side of the subject. For a bottle lit from a window on the left, a black board on the right may create a darker edge that helps the bottle stand apart from a pale background. To keep a background darker, position a flag between it and the light, while checking that the flag itself stays outside the frame. The size and placement of a board matter as much as its color: a large board close to the subject will usually make a more noticeable difference than a small one far away.
Apply the method to a practical brief
Imagine photographing a jar of handmade jam for an online shop. The brief calls for a readable label, visible fruit color and a natural-looking tabletop. Place the jar near a window and rotate it until the label catches enough light. If one side becomes too dark, hold white card opposite the window and bring it closer until the label is legible without removing all the jar’s shape. If the glass develops a distracting bright patch, change the card’s angle or position rather than assuming more light will fix it.
For a creator portrait, begin with the person turned slightly toward a window. Use a white board on the far side if the face needs gentler shadows. For a more dramatic image, replace the white board with a black one and watch how the cheek and jawline change. Ask the subject to stay in roughly the same position between frames. A small shift toward or away from the window can alter the result as much as moving the board.
Keep the setup repeatable
Once the light works, photograph the setup with your phone or make a quick sketch. Record where the subject, camera, light and boards sit. This is especially helpful when you need several product images to feel consistent. Shoot a reference frame before changing the arrangement, then check it again after moving to the next item.
Finally, judge the photograph at the size where it will be used. A subtle shadow may look attractive on a large screen but make a small product thumbnail harder to read. Reflectors and flags are not rules for making every image evenly lit. They are simple tools for directing attention: brighten what viewers need to see, preserve shadows that give form, and remove light that distracts from the message.