Start with the job the photos need to do
A good lighting choice begins with the brief, not the equipment. A product listing may need a clear, consistent view of shape, color, and detail across an entire range. A campaign image may have more room for atmosphere: a soft shadow on a table, a sense of morning, or a dramatic highlight on a bottle. Decide where the images will appear, what a customer must be able to see, and whether this shoot needs to match photographs you already have.
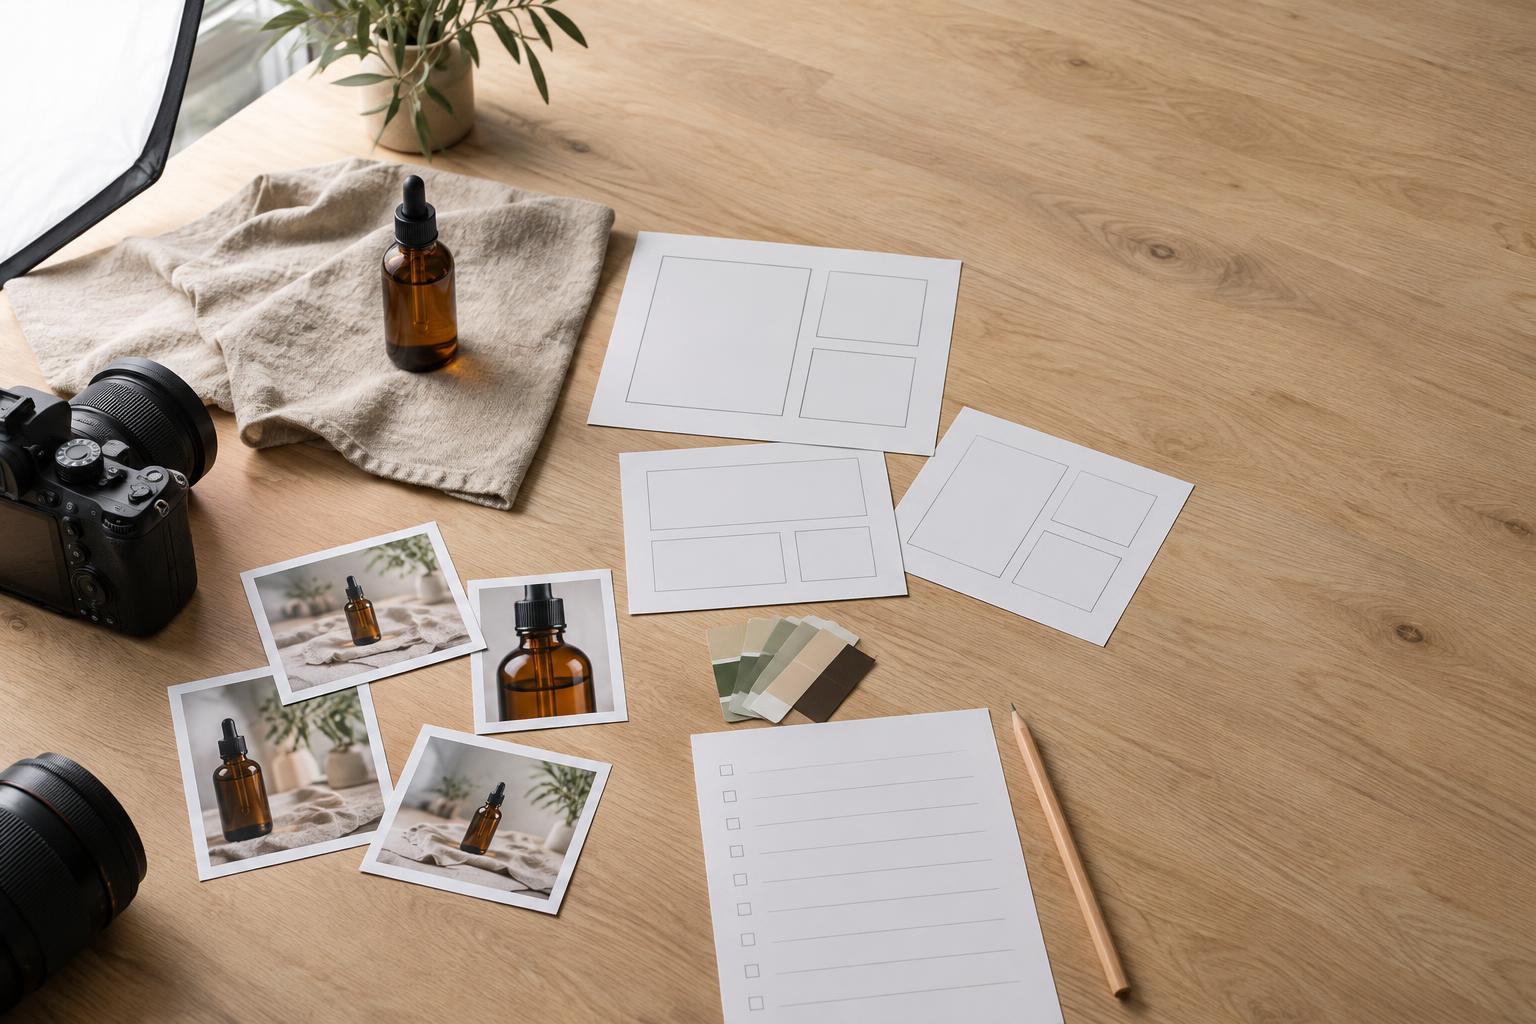
Make a short shot list before choosing a location. Include the essential angles, close-ups, groupings, background, and intended crop for each image. Then ask which conditions will let you produce that list reliably. Natural and studio light can both look soft or bold; the important difference is how much control you have over where the light falls and whether you can repeat it.
When natural light makes sense
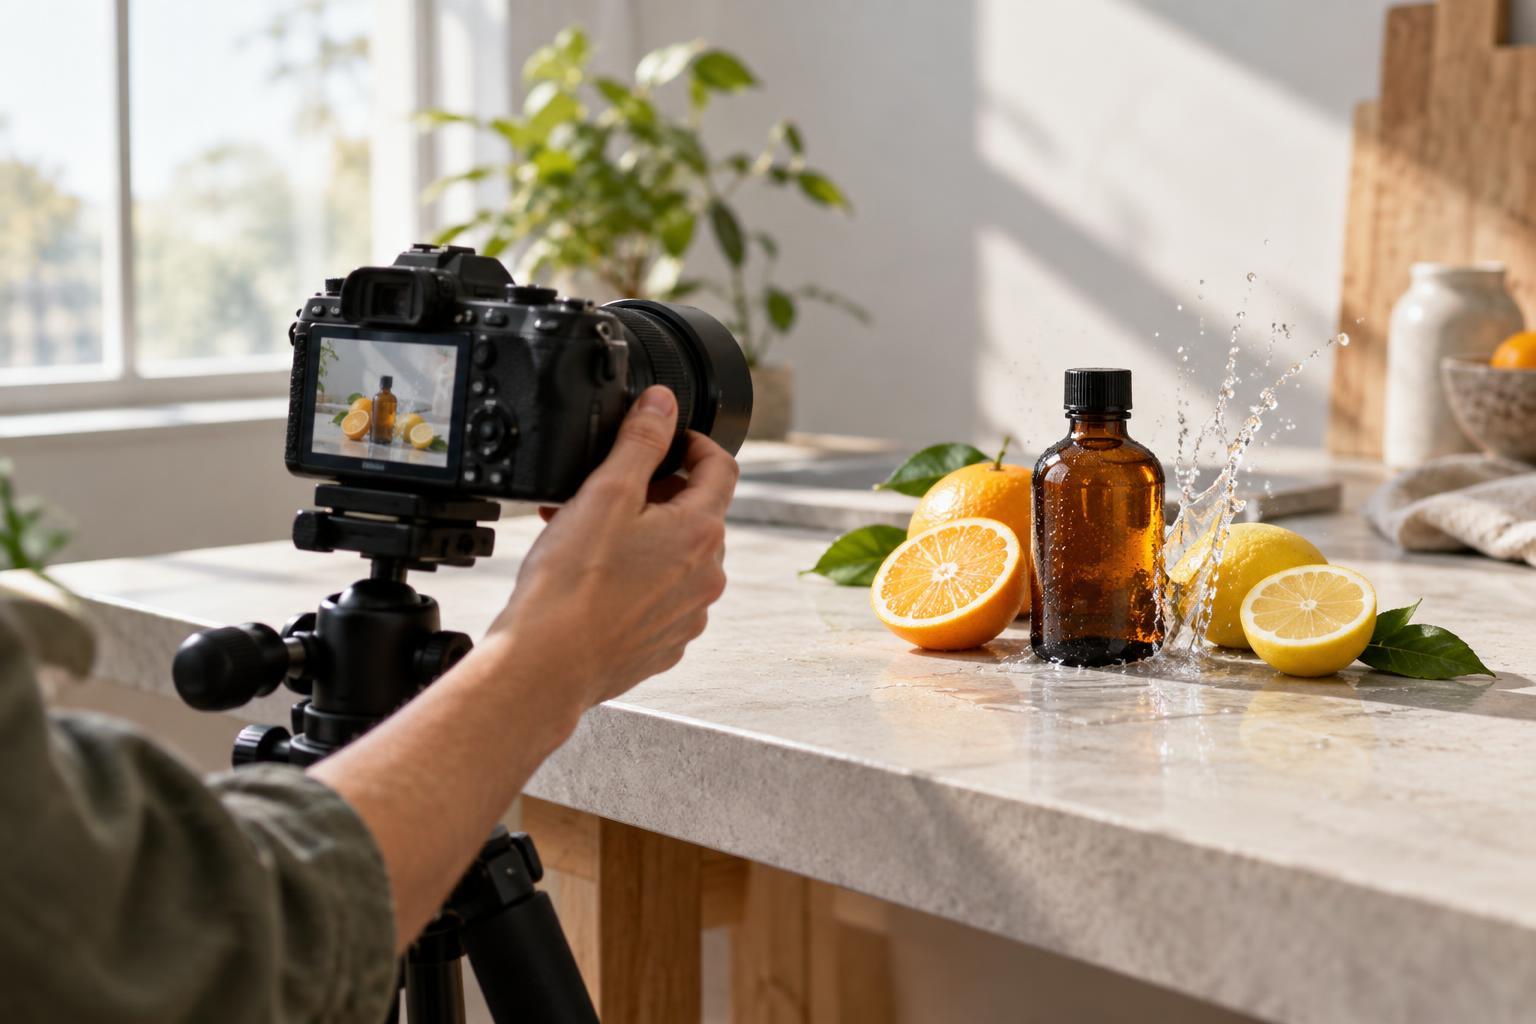
Window light is a useful starting point for small teams. It can create gentle transitions between highlights and shadows, especially when it passes through a sheer curtain or is bounced back with a white board. That quality often suits food, textiles, handmade goods, and relaxed lifestyle scenes. A tabletop near a window can be enough for a simple set of images if the product, background, and camera can stay in place.
Its limitation is change. Light shifts in direction and intensity as the day passes, and clouds can alter a scene between frames. Direct sun may also produce hard shadows or bright patches that are difficult to manage on a small set. If you need to photograph many color variations or return for matching images later, those changes can become a production problem. Work in a short, planned session, keep a reference frame, and check each image against it rather than assuming the light still matches.
When studio light earns its place
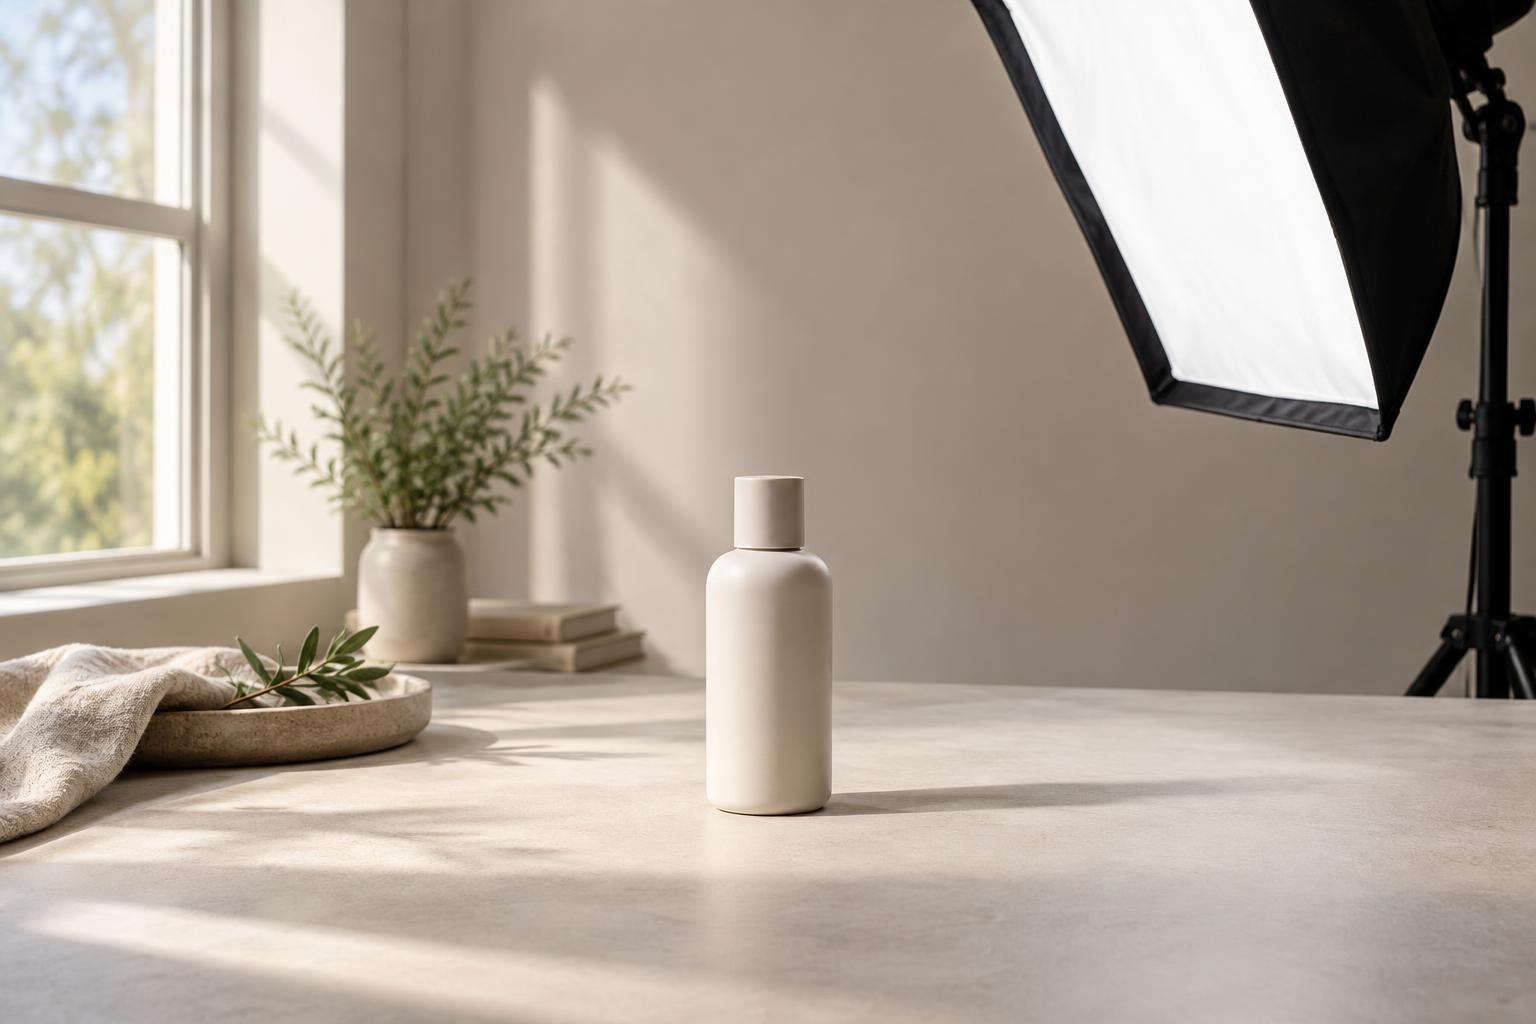
Studio light means light you place and control, whether that is one continuous lamp with a diffuser or a larger flash setup. Its main advantage is repeatability. You can mark the positions of the product, camera, and light, then use the same arrangement for each item. You can also decide how much shadow to keep, shape a highlight, or separate a product from its background without waiting for the weather to cooperate.
That control matters with products that are reflective, transparent, or highly detailed. A shiny package reflects its surroundings, so moving a large white diffuser can change the appearance of its surface. A glass object may need careful placement of bright and dark areas to make its edges visible. Studio lighting does not automatically make these subjects easy, but it gives you a steadier environment in which to solve them. It also takes time to set up: a poorly placed lamp can create glare or flatten the texture you wanted to show.
Choose for consistency, not just mood
Imagine a small maker photographing one ceramic cup for a social post and then photographing twelve glaze options for an online shop. For the single post, window light beside a lived-in table may support the story. For the shop set, a controlled setup is likely to make the angles, shadows, and backgrounds easier to match. The product has not changed; the requirements have.
Color deserves particular attention in either setup. Turn off unrelated room lights if they cast a different color on the scene. With natural light, watch for colored walls or nearby objects reflecting into pale products. With studio light, use the same light settings throughout the series and avoid changing modifiers midway without taking a new reference. Check images on a consistent display when possible, and do not rely on a warm-looking scene to represent a product's exact color.
Run a small test before committing
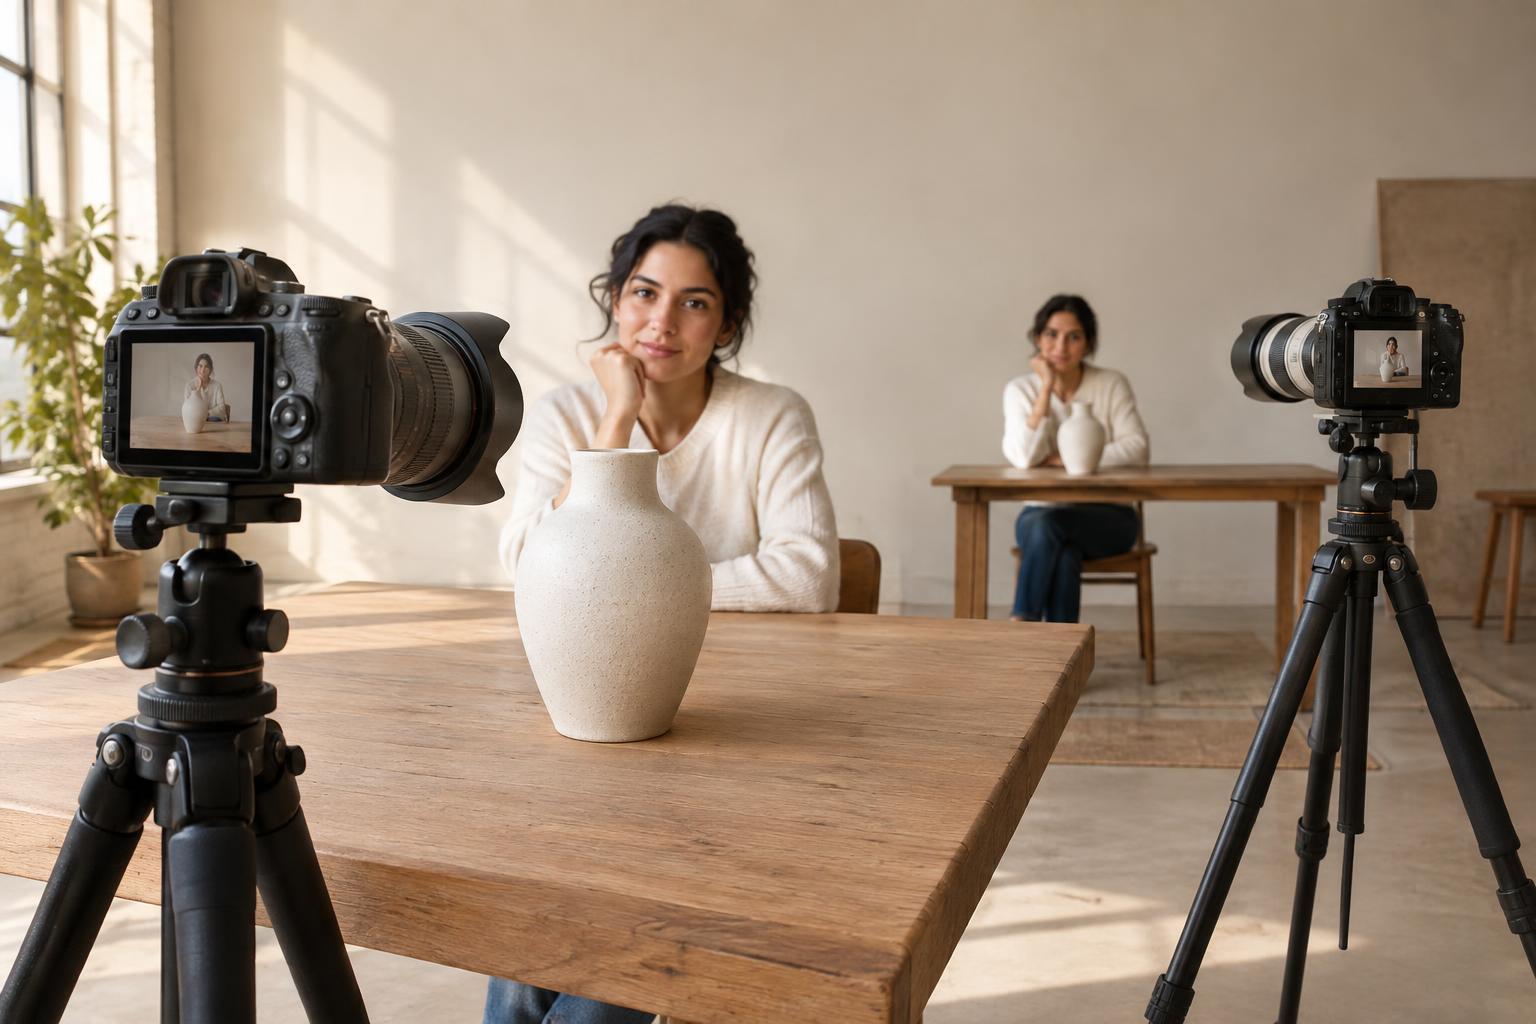
You do not need a full shoot to make the decision. Photograph one representative product in both setups using the same background and required crop. Include a detail view and, if relevant, a second item with a different surface or color. Compare the images at the size they will actually be used. Can you see the important details? Are reflections helpful or distracting? Would you be able to recreate the look for another product?
A practical choice may also combine the two approaches across a project: controlled light for a consistent set of product views and natural light for a handful of lifestyle images. Keep each group visually coherent rather than switching sources unpredictably within a series. The best light is the one that helps the viewer understand the product and lets you deliver the complete shot list—not simply the one that looked appealing in the first frame.